




Short answer: to tie a hakama, put the front panel on first with its top edge just below the navel, take the front ties around to the back, cross them, bring them back to the front and cross them again, then knot them at the back. Lift the back panel into place and tie the back ties in a firm knot at the front. On everyday hakama pants with one tie or a belt it takes seconds.

Before you start
A traditional hakama has four ties: two long ones on the front panel and two shorter ones on the back panel. The front panel goes on first. If you wear one over a training top or a kimono, tie the belt or obi first, because the hakama ties sit on top of it. If you are new to the garment itself, our guide to what a hakama is covers the parts and where the shape comes from.
Step 1: front ties to the back
Step into the hakama and hold the front panel against you, with its top edge just below the navel and level all the way round. Take both front ties around your waist to the back and cross them over each other there.
Step 2: cross again in front
Bring both ties back round to the front and cross them again, a few fingers below the top edge of the front panel. Keep the tension even on both sides so the panel stays centred and the pleats hang straight.
Step 3: knot at the back
Take the ties round to the back once more and tie them in a firm knot, just below the first crossing. Tuck any loose ends under the ties at the sides. A common variation knots the front ties at the front, just below the navel, instead of behind. The back ties then tie over that front knot.
Step 4: back ties to the front
Lift the back panel into place. On a martial arts hakama that panel is stiffened by a board called the koshi-ita, which sits flat against your lower back. Bring the back ties forward, over the front ties, and knot them at the centre front. Tuck the ends in or cross them into a neat bow. Check the hem: it should fall to about the ankle, a little higher at the back than at the front.
If the hem lands too high or too low, check the hakama size guide.
Tying our hakama
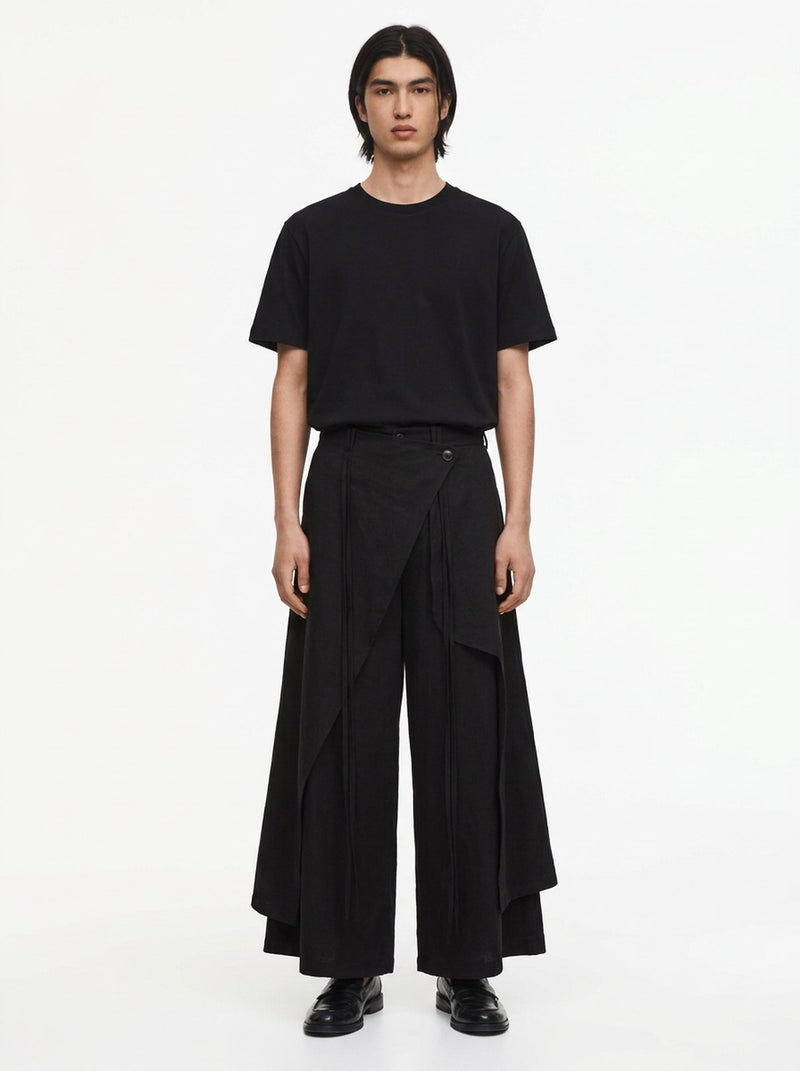
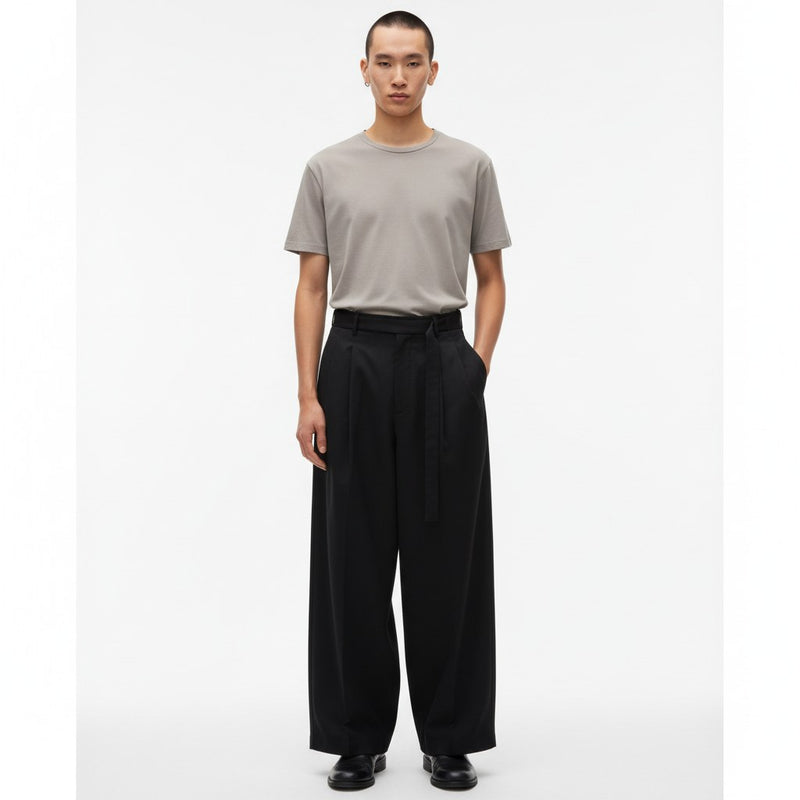
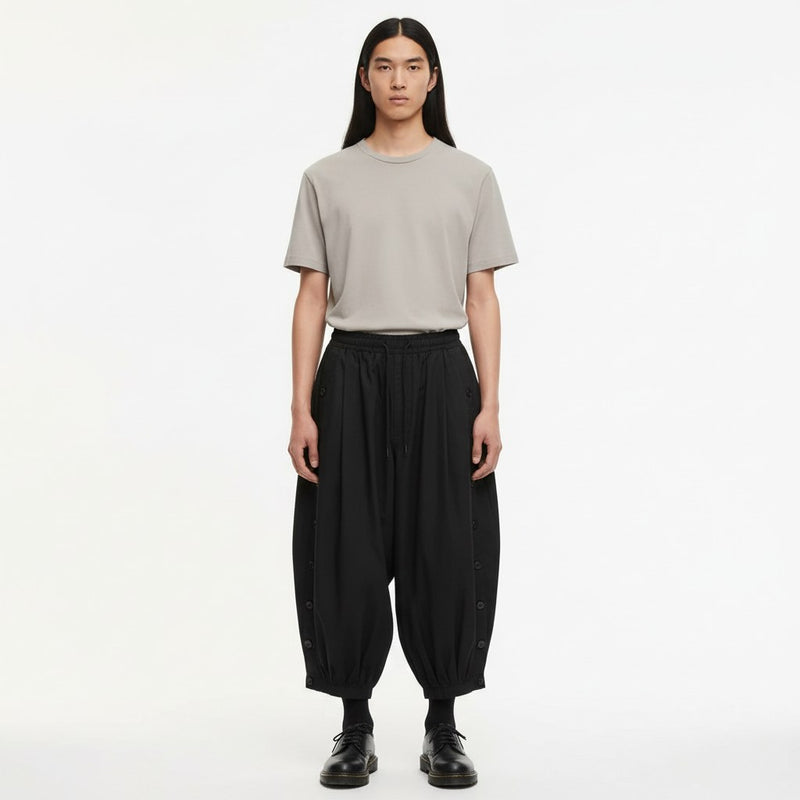
The Cotton Kendo Hakama is the traditional build, with seven deep pleats, a stiff back plate and long ties, so it ties exactly as above. The Pleated Samurai Hakama Pants close with a single long tie: wrap it round the waist and knot it at the front or the side. The Dark Cotton Hakama Pants keep the long ties down the side but add an elasticated back, so the ties set the look rather than hold the trousers up. Our belted styles skip the ties altogether and buckle at the front.
Why seven pleats
A traditional hakama has five pleats on the front and two on the back. The seven are often said to stand for the virtues of bushido, the samurai code: benevolence, honour, courtesy, wisdom, sincerity, loyalty and piety. It is a later teaching rather than the reason the garment was cut that way, but you will hear it in most dojos. For how pleats compare with a dropped-rise cut, see hakama vs harem pants.

What to wear with it
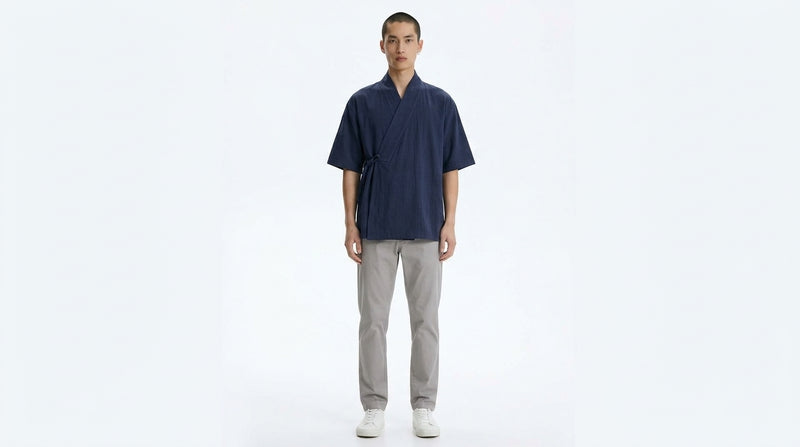
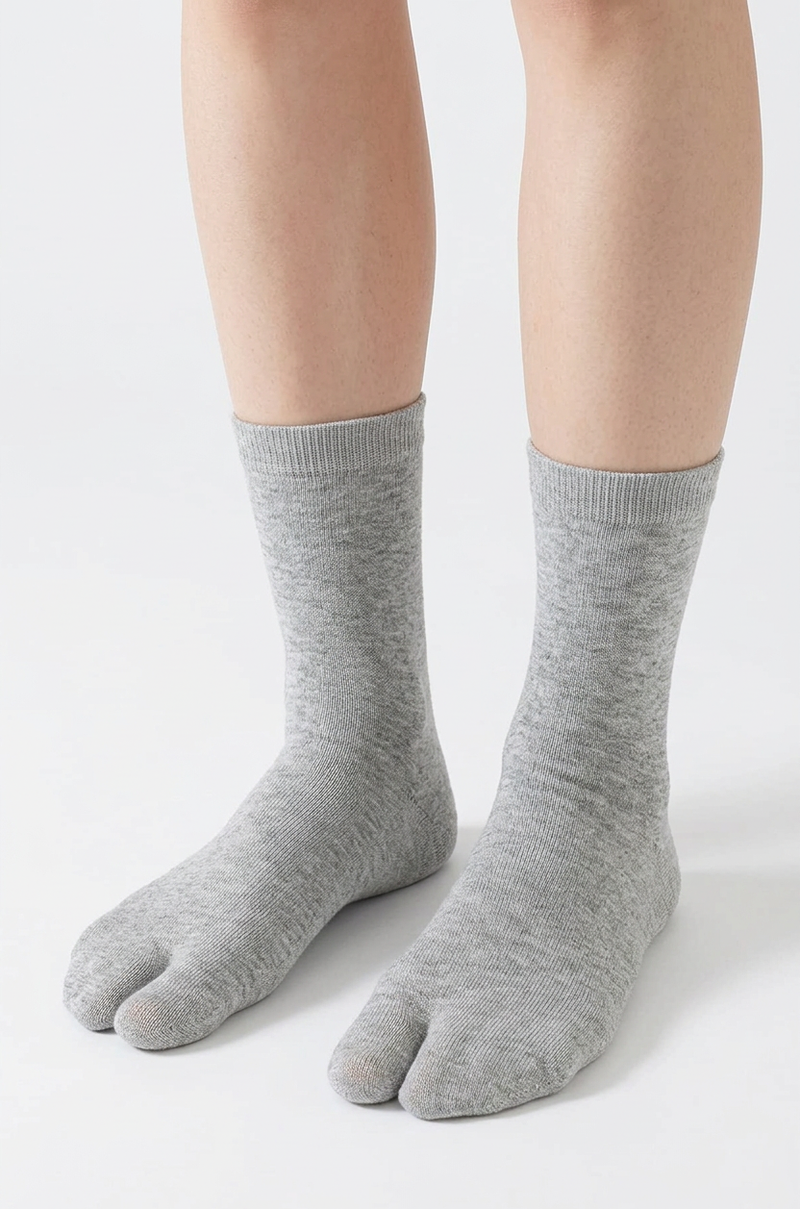
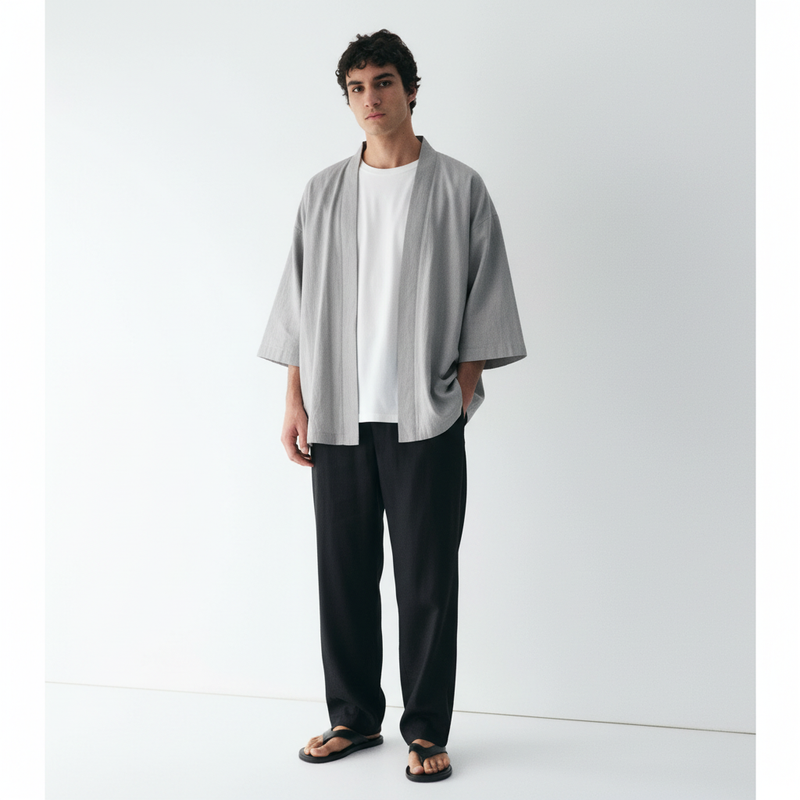
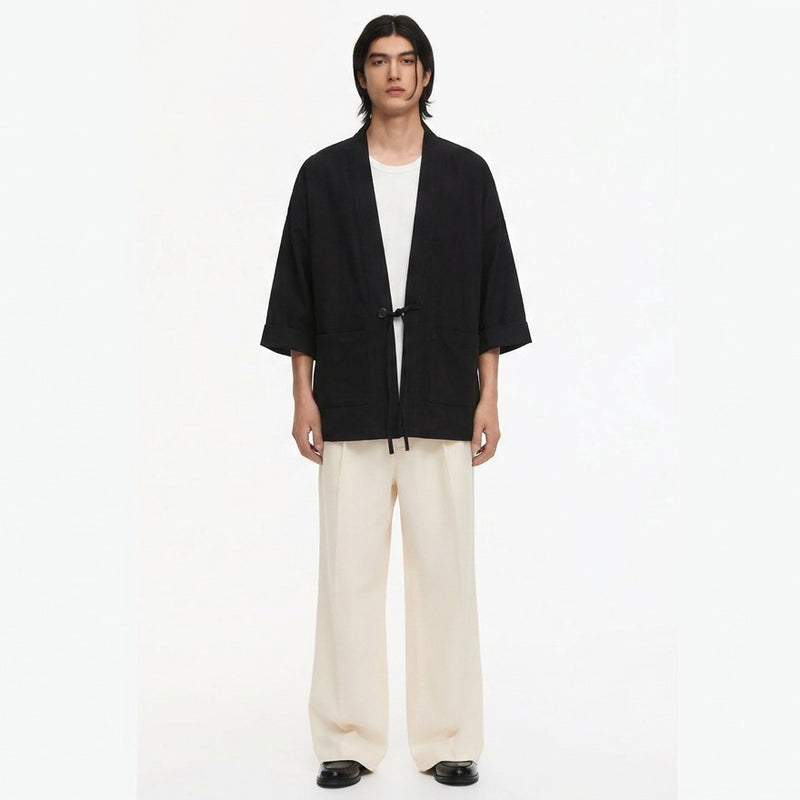
Split-toe tabi socks are the traditional match, and they show at the ankle when the hem falls right. Over a plain tee, an open haori finishes the look without making it a costume.